
Ublox Flash Upgrade
Using Galileo with a cheap Ublox NEO M8N
Upgrading the u-blox firmware to version 3.01
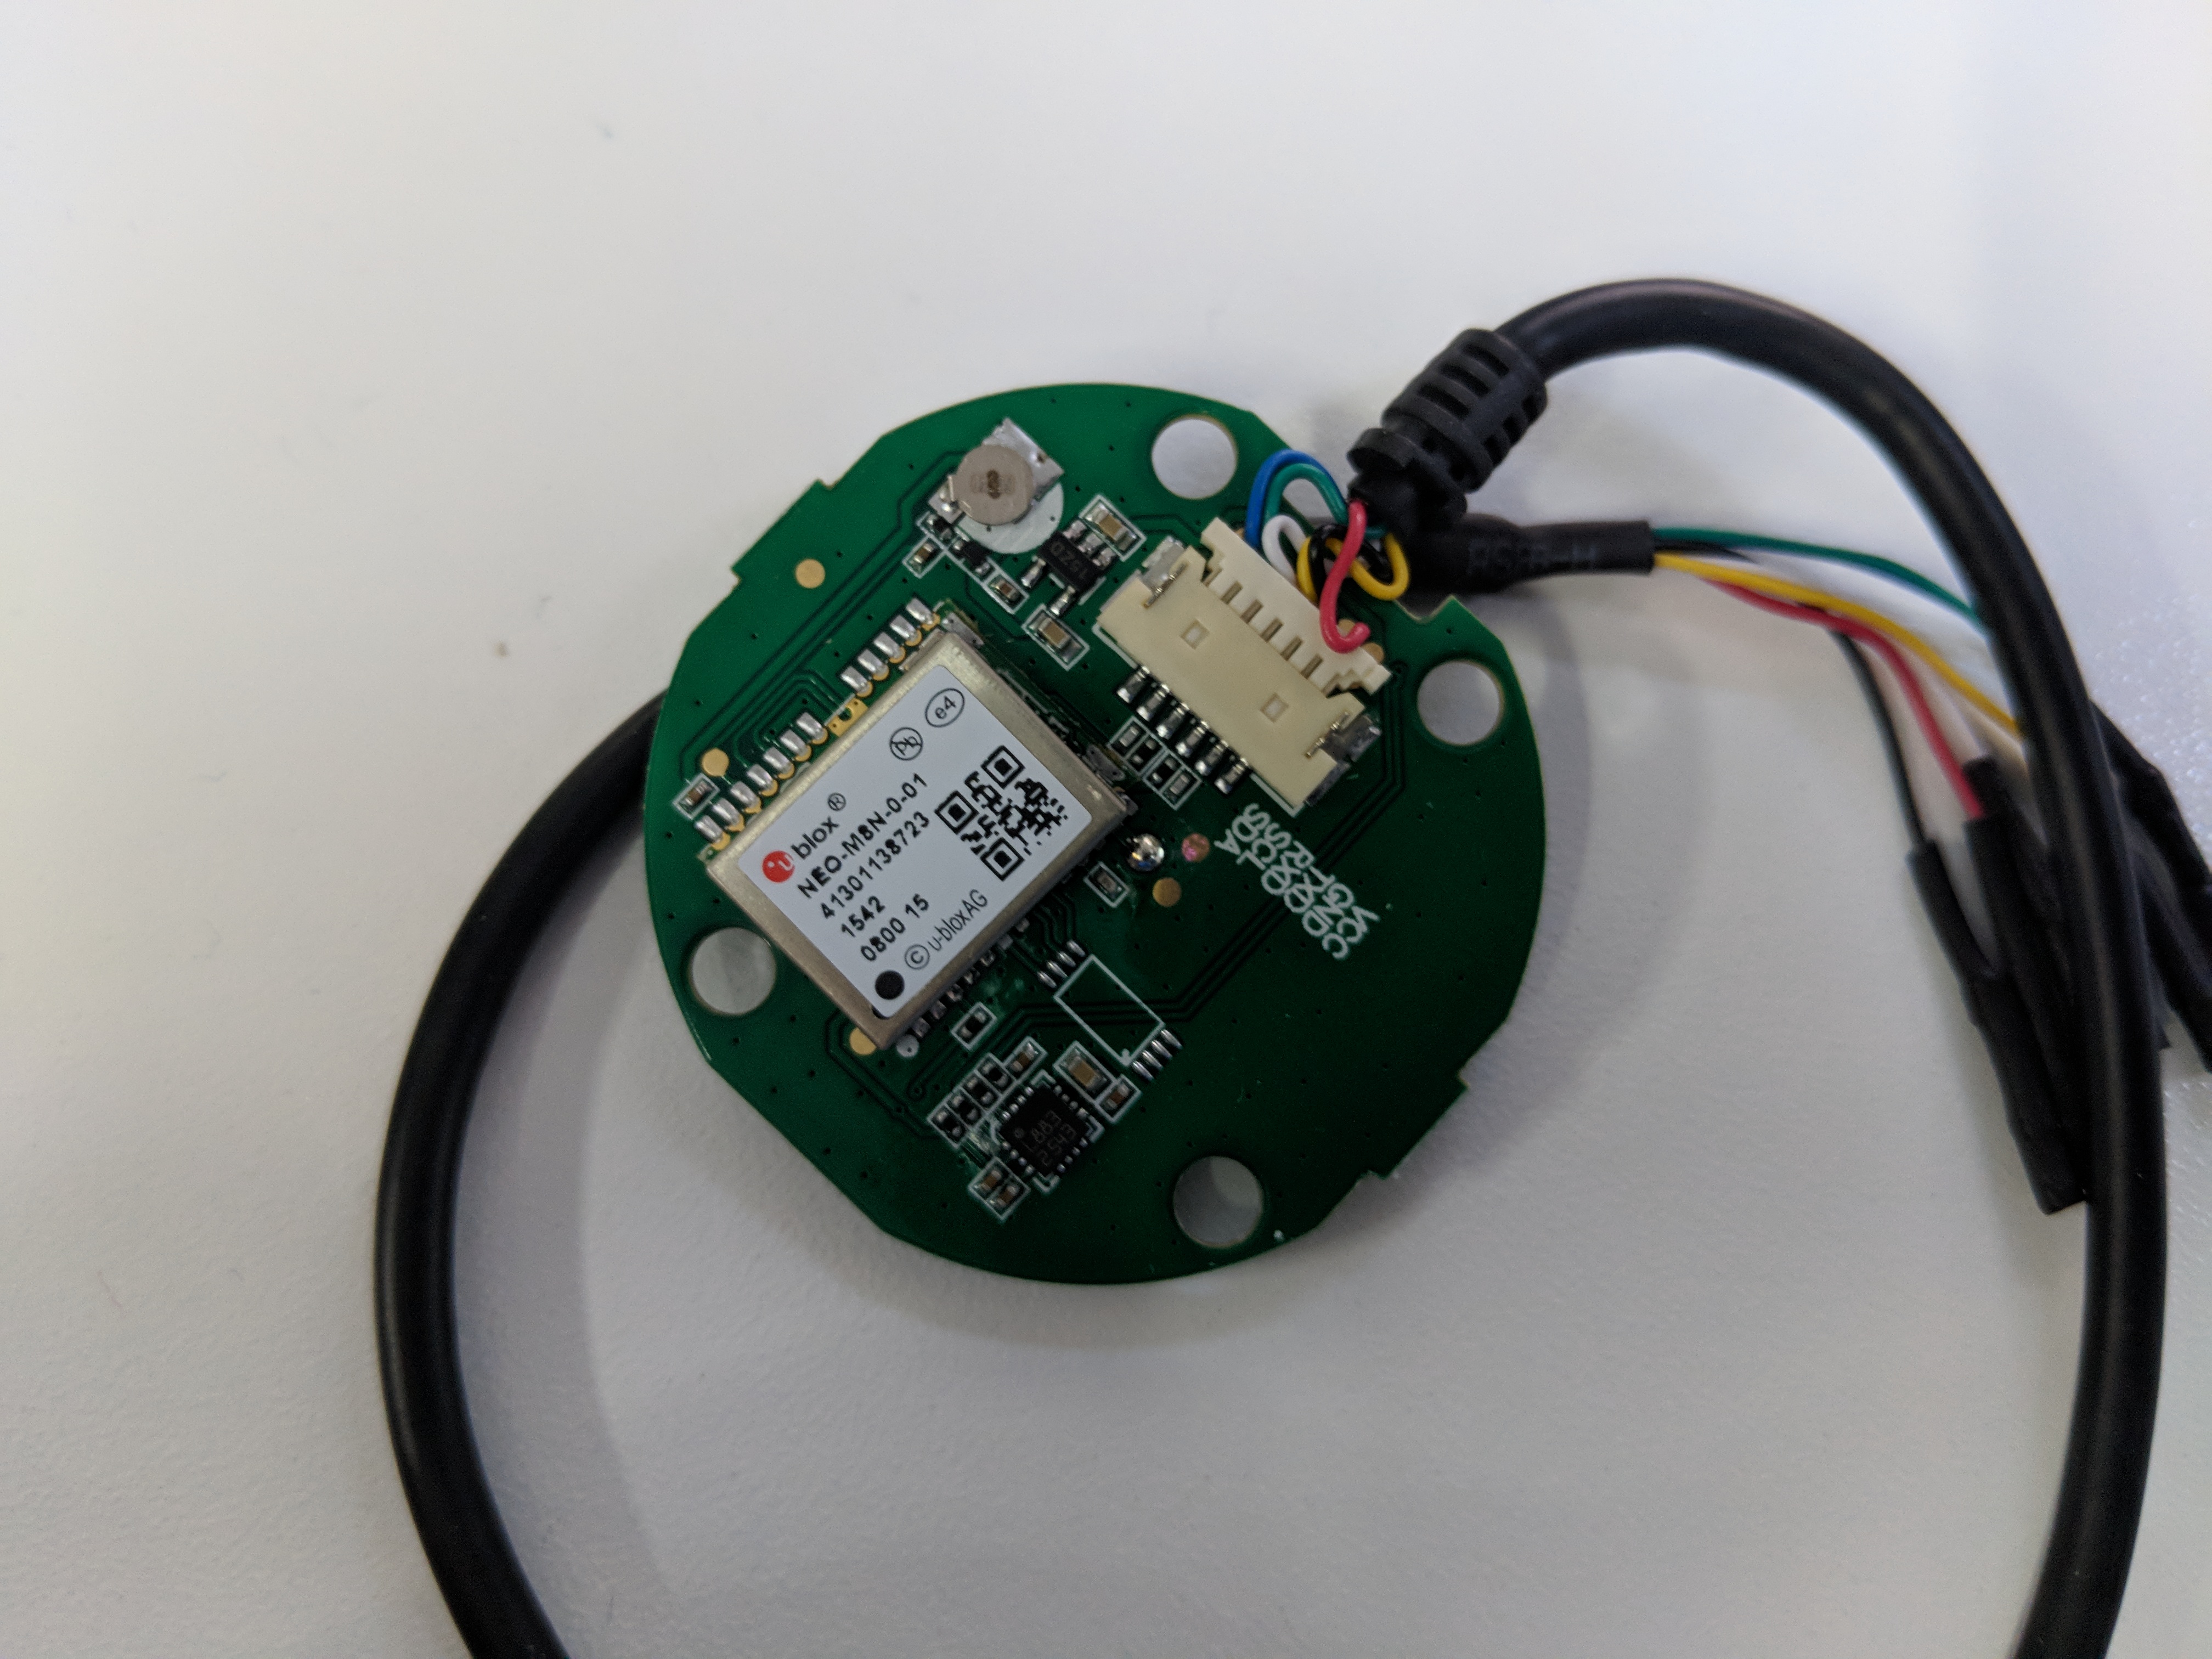
Using a cheap U-Blox NEO M8n GPS module with iNav works surprisingly good. Position hold, return to home and waypoint missions work like a charm.
When Galileo was started in 2017 it was obvious to use it to improve the location quality. But to receive Galileo signals the firmware of the u-blox receiver module had to be upgraded:
Starting Flash Firmware Update
Loading and checking firmware image
Load FW binary 'C:\Users\Atomic\Downloads\UBX_M8_301_SPG.911f2b77b649eb90f4be14ce56717b49.bin'
Binary check success, G80 image valid.
Version: 3.01 (107900)
FLASH Base:          0x800000
FW Base:             0x800000
FW Start:            0x86C16D
FW End:              0x8808CC
FW Size:             0x808D4
Transfer Packetsize: 512
Transfer Packets:    1029
Checking communication link...
Communication link OK.
Deleting Flash FW: OK
Rebooting
Identifying receiver updater version at 38400 baud.
Firmware loader version 5.01 detected.
Suitable Multi-ROM image found
Check pass: u-blox8 Multi-ROM image -> u-blox8 ROM2.01-receiver
Identifying Flash
Flash: ManID=0xEF, DevID=0x3013
Flash device not supported
Done in 6.5 sec.
Statistics:
	Erases sent:    0
	Writes sent:    0
	Erase timeouts: 0
	Write timeouts: 0
The firmware update process stopped with the error message: Flash device not supported
After searching the web it was clear to exchange the flash chip. The existing one has to be replaced by the W25Q16JVZPIQ-ND flash modules.
Replacing the flash chip
Opening the case, removing any shielding and soldering will definitely void your warranty and you have a good chance to damage your GPS module!
Use this information at your own risk!
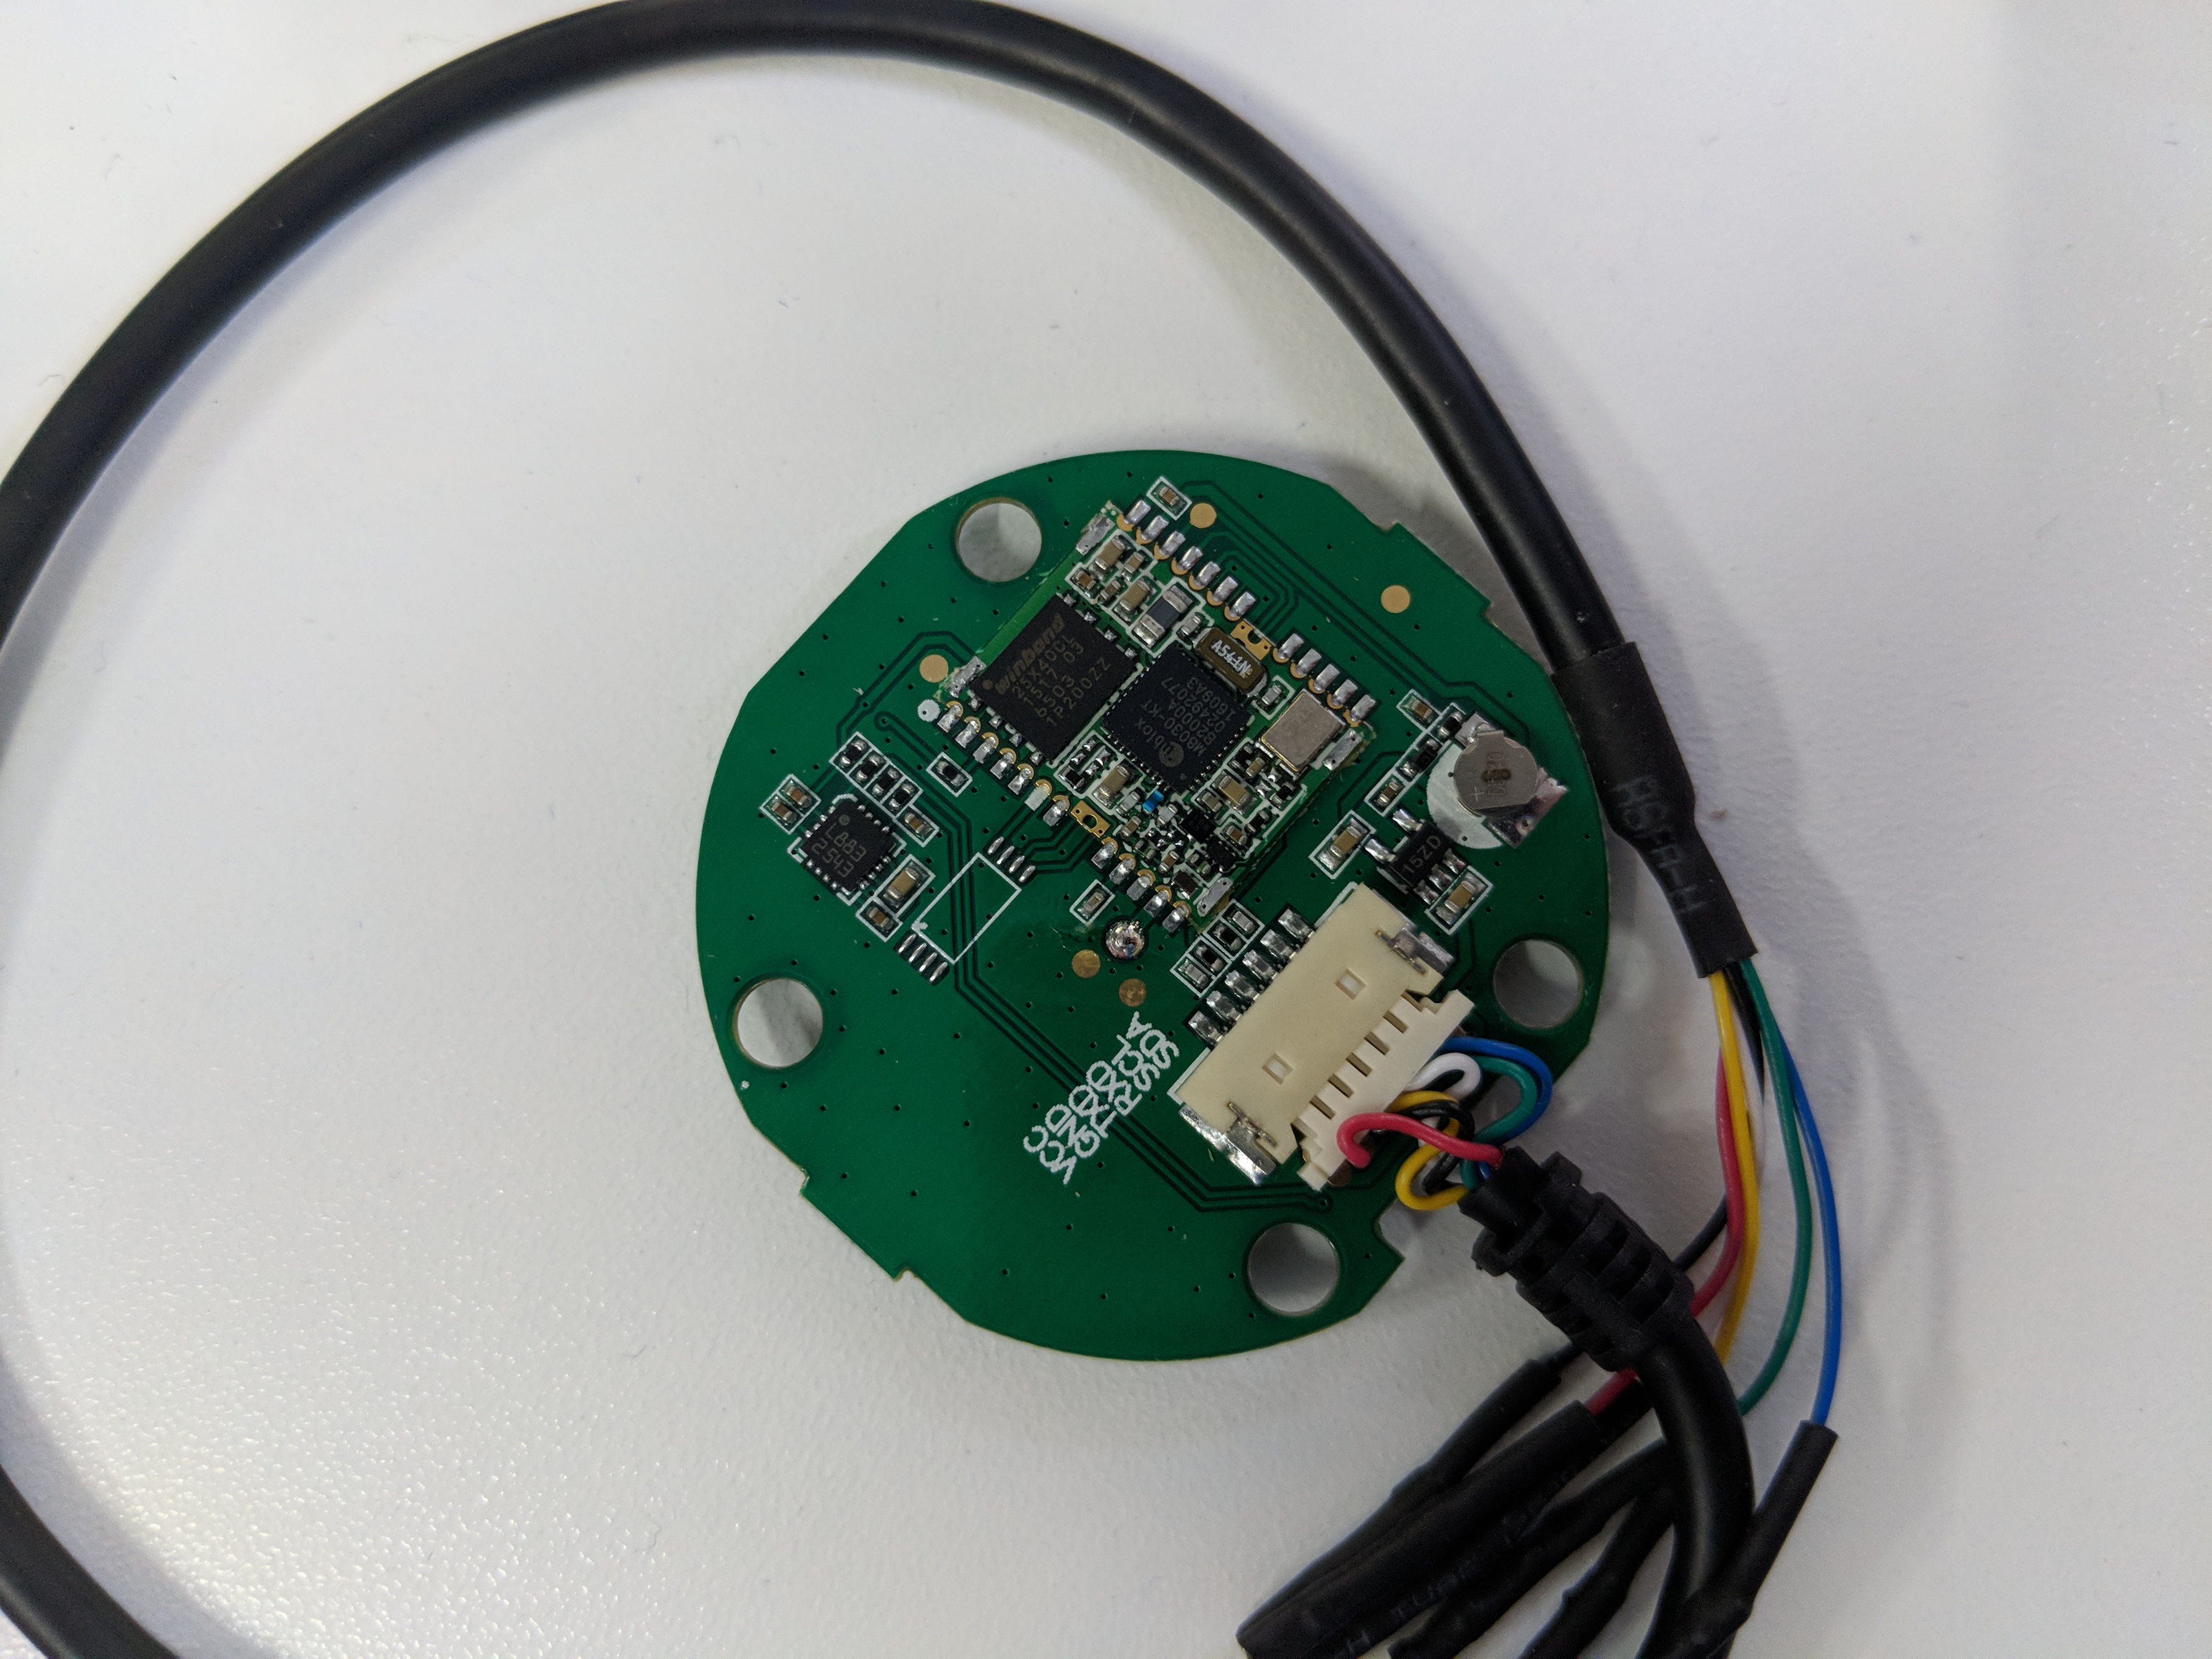
After removing the plastic cover the u-blox chipset and the flash chip was hidden behind a metal shielding which can be easily removed:
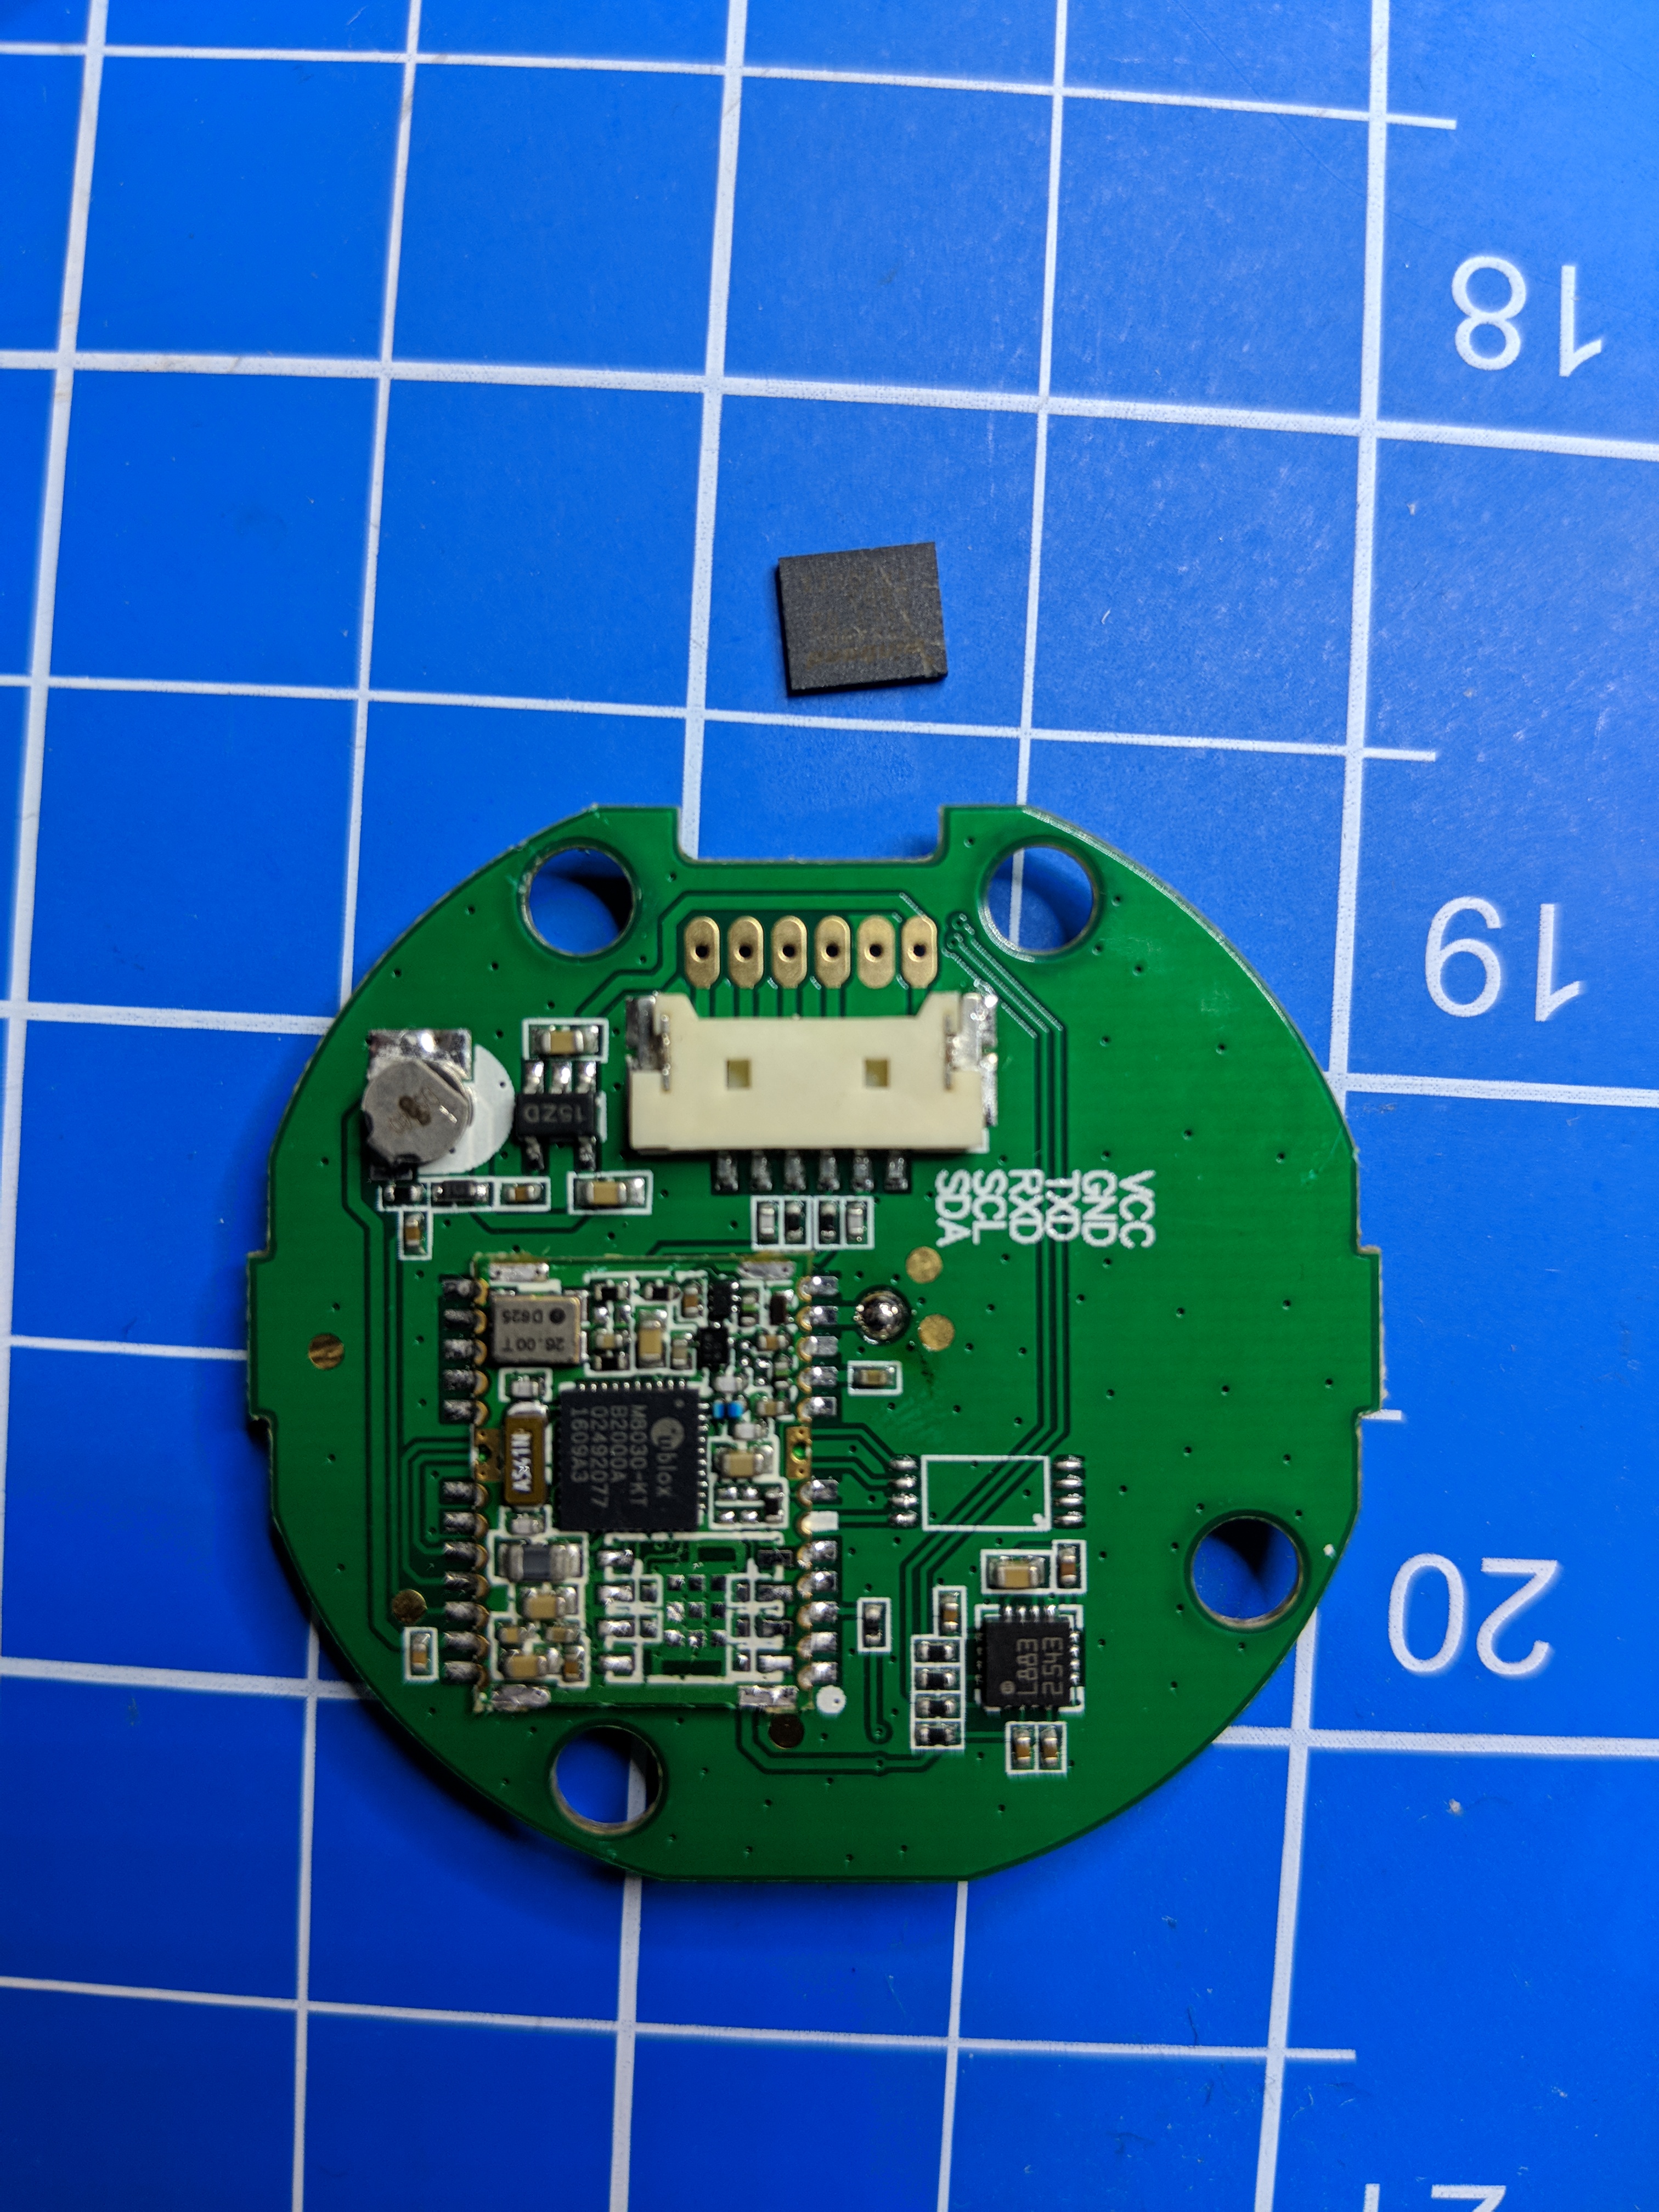
Now comes the hard part: I de-soldered the flash chip with a hot air soldering station. Be careful when soldering, adjust the air stream - you may blow away some other important SMD components.
Again: Soldering at your own risk! You may easily destroy the module!
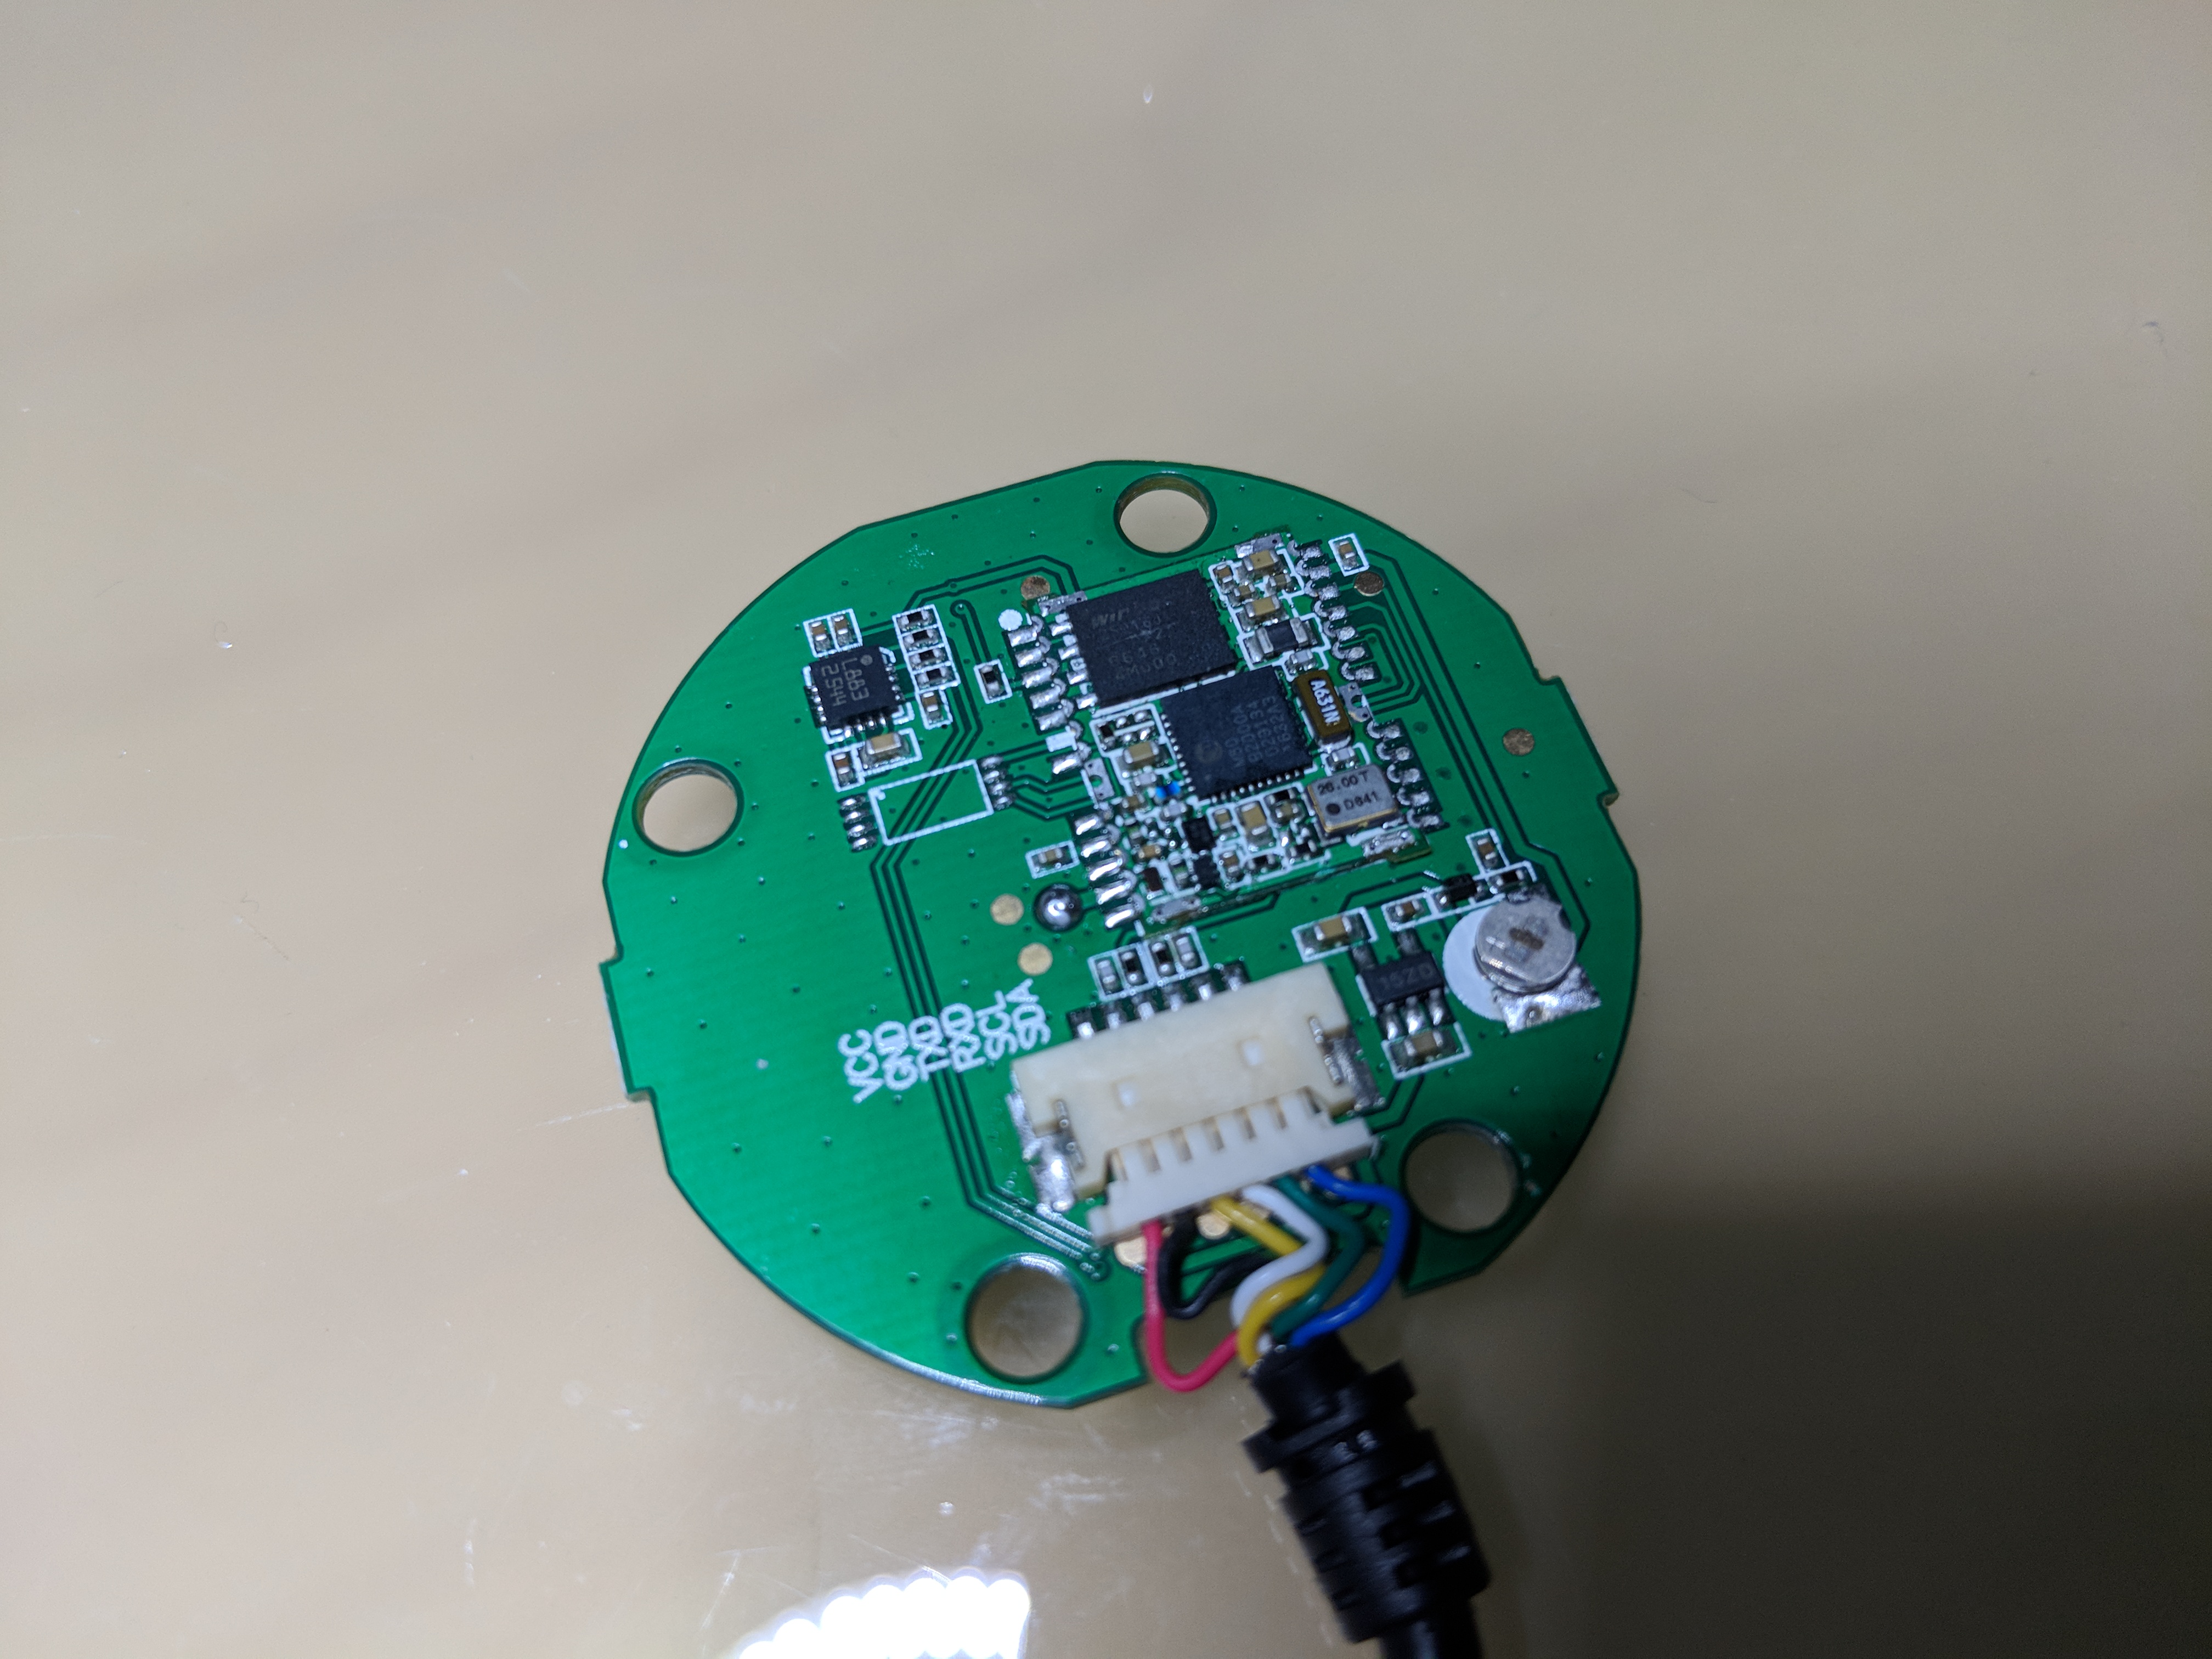
After removing the flash chip you should clean the PCB.
Adding the new flash chip is tricky, you have to add as much heat as needed and as less as possible. If the air stream is to strong you can easily blow away the components! You may use some polyimide soldering masking tape with silicone adhesive.
After adding the new flash you can restore the metal shielding:
Updating the ublox firmware

Update: iNav 1.9 supports M8N and Ublox firmware 3.x (or later). Set the CLI variable gps_ublox_use_galileo:
set gps_ublox_use_galileo = on